Gold toned print.
Gold toning a printed-out photograph: How I did it.
I had bought a package of 10 sheets of 11 x 14 inch old fashioned photographic paper that came light-fogged, and therefore worthless for printing with an enlarger and photochemicals. I was dismayed. Yes, I called the seller, and then the manufacturer, but they wouldn’t replace it. Best I could get was a $5 gift card from B&H Photo.
However, I remembered that photo paper tends to darken in the light, even without development. Well, I have a few large negatives left over from other projects, so I got two — one with high contrast — that I put in an 11 x 14 inch contact printing frame. Sure enough, the high contrast negative produced a pretty good-looking print. I had a normal contrast negative too, but that made for a muddy-low contrast print.
To make the image permanent I put the printed-out image in fixer. Well “printed-out” refers to putting the contact frame with negative and paper to print “out” into bright sunlight for perhaps 10 minutes to darken.
Anyway, imagine my disappointment when the fixer essentially bleached out the image. I mean I could make out the image, it was just light yellowish brown against a white background.
I looked up remedies for that and I got an article about toning with gold. Well, I just happened to have 60 ml of gold chloride solution in my laboratory, so I made a pint of solution consisting of distilled water, sodium metaborate, and gold chloride.
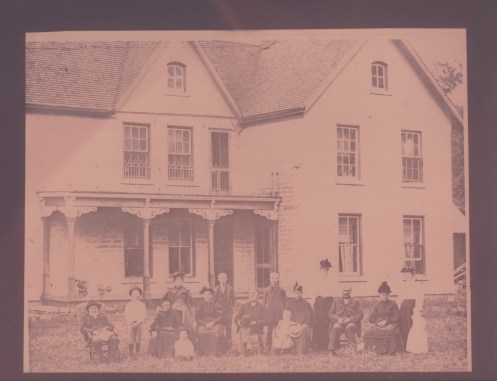
I exposed another sheet, then fixed the image in a dilute solution of sodium hypo sulfite fixer (so’s not to bleach out the image too much) and then soaked in the gold toning bath for three minutes before washing. Here is the result: